The most refined garages are not merely functional—they feel composed. Doors glide without protest, mechanisms operate with calm assurance, and every repair choice is deliberate rather than reactive. In a space often treated as an afterthought, a premium approach to repair work is less about spending more and more about thinking better. This guide explores repair solutions that honor both performance and longevity, with five exclusive insights that discerning homeowners can quietly put to work.
Seeing Beyond the Symptom: Diagnosing the True Fault Line
Elegant repair begins with refusing to accept the first, loudest symptom as the root cause. A squealing garage door track, for instance, may seem to call for lubrication, but the true culprit may be a subtle misalignment, worn rollers, or a fatigued hinge that is forcing the system to work off-balance.
A refined diagnostic approach starts with observation before intervention. Watch a complete open-and-close cycle from inside and outside the garage. Note whether one side rises faster, if the door shudders mid-travel, or if the opener strains at a particular point. Listen for inconsistencies: a soft progressive hum is healthy; sharp, isolated clunks and chirps rarely are.
Use a flashlight to inspect the full assembly—tracks, hinges, rollers, springs, cables, weatherstripping, and opener hardware. Look for light surface rust, fine hairline fractures on hinges, and frayed cable strands. By insisting on identifying the primary mechanical imbalance rather than soothing the symptom, you avoid serial “band-aid” fixes and move toward a single, decisive repair that restores harmony to the entire system.
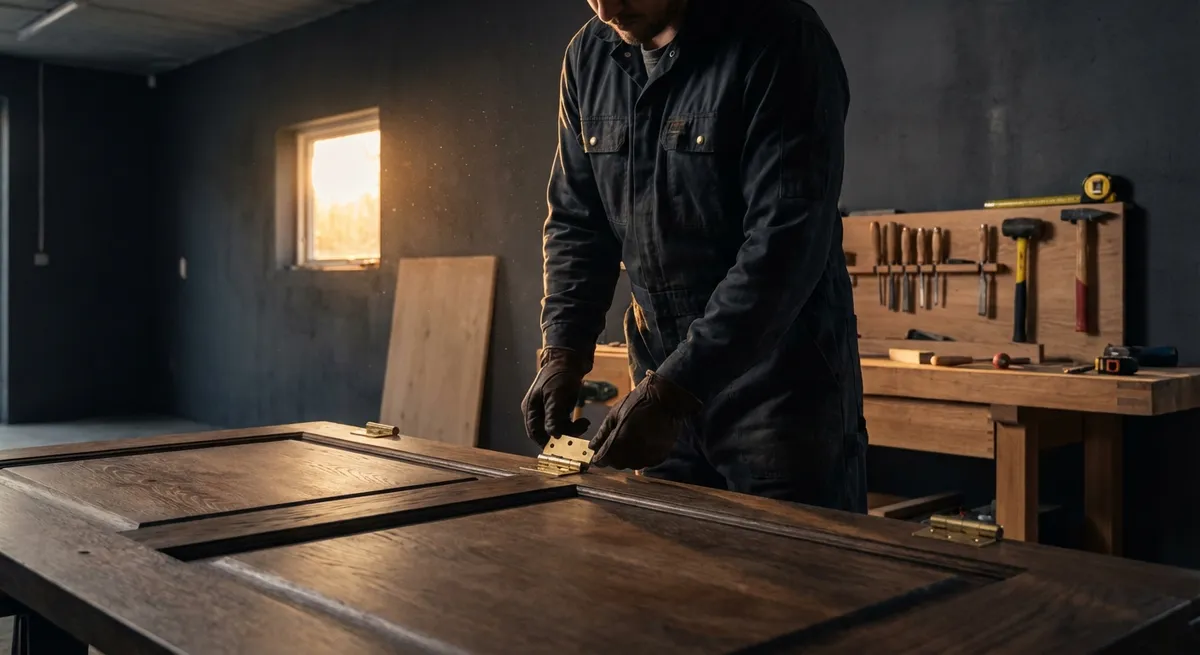
Insight 1: Treat the Door as a Balanced System, Not a Collection of Parts
Most garages are repaired in fragments—one noisy roller here, one bent hinge there—until the entire system feels like a patchwork of eras and qualities. A more elevated philosophy is to view the garage door and opener as a single, integrated mechanism whose components age at roughly the same tempo.
When a spring breaks or a roller fails, it is rarely an isolated event. Springs, cables, and rollers have comparable life expectancies measured in cycles, not years. If one primary component is at the end of its service life, its counterparts are seldom far behind. Instead of replacing a single worn roller, consider upgrading all rollers to high-quality, sealed-bearing, nylon models. When replacing a torsion spring, evaluate whether a matched pair upgrade is appropriate for smoother lift and redundancy.
Balance testing is central to this system-level approach. With the opener disengaged (using the emergency release), gently lift the door halfway and observe whether it remains in place. A properly balanced door neither surges upward nor drifts downward; it feels surprisingly light. If the door drops, the springs are under-tensioned or failing; if it shoots upward, they are over-tensioned. Adjusting or replacing springs is not a casual DIY job—torsion springs store significant energy and require professional handling—but insisting on proper balance protects the opener from undue strain and transforms the feel of daily operation.
Insight 2: Upgrade Contact Points Before Electronics
When something feels off, many homeowners assume the problem lives in the opener head—its logic board, motor, or remote system. In practice, the more refined solution is often to begin with the low-tech contact points: what touches, pivots, rolls, and seals.
Rollers, hinges, track fasteners, and weatherstripping constitute the tactile interface between the door and its environment. Cheap plastic rollers flatten, chatter in the track, and amplify vibration into the surrounding structure. Stamped hinges flex and introduce micro-misalignments that accumulate across the door’s height. Over-compressed or brittle weatherstripping drags against the floor, making the opener “fight” its way through each cycle.
Replacing these components with higher-grade alternatives often transforms door operation more dramatically than swapping an opener. Nylon rollers with sealed bearings, reinforced hinges, and correctly sized, flexible bottom seals reduce friction, noise, and wear in one elegant stroke. Only after the mechanical path has been optimized should you evaluate electronic upgrades—such as soft-start/soft-stop openers or DC motors—for further refinement.
The result is a system that feels deliberately tuned, not just technologically updated. Noise diminishes, vibration fades, and the door’s movement begins to resemble a well-regulated piece of machinery rather than a reluctant slab of metal.
Insight 3: Calibrate Force and Travel Like a Conservator, Not a Contractor
The force and travel settings on a garage door opener are often treated as crude levers: turn until the door “works” and move on. A more elevated mindset borrows from museum conservation and fine instrument tuning, where the goal is to apply only as much energy as is truly necessary—and no more.
Force settings determine how hard the opener will push or pull before it interprets resistance as an obstruction and reverses. Travel settings govern precisely where the door stops at the fully open and fully closed positions. Overly high force masks mechanical issues and accelerates wear; overly generous travel can jam the door into the floor or header, crushing seals and stressing panels.
A refined calibration process works in stages:
- Start with balance and friction. Ensure the door moves easily by hand with the opener disengaged. If it does not, address that first.
- Set conservative force levels. Begin with lower-than-default force settings and incrementally increase only until the door completes its cycle reliably in normal conditions.
- Fine-tune travel limits. Set the down limit so the bottom seal compresses just enough to create a weather-tight contact, not a visible bow in the lowest panel. Set the up limit so the door clears the opening fully without pulling the top panel into the header or over-tensioning hinges.
This calibrated, minimalist approach promotes safety while preserving the structural integrity of the door. It also extends motor life and protects against damage if the floor heaves slightly with seasonal changes or if small obstructions appear in the door’s path.
Insight 4: Protect Against Moisture as Aggressively as Against Wear
The most elegant garages fail not because of catastrophic mechanical events, but because of quiet, incremental moisture damage. Condensation, minor roof seepage, or poor slab drainage can corrode hardware, cause wood jambs to swell, and create misalignments that masquerade as mechanical faults.
Repair strategy, therefore, must include moisture control as a core design principle, not an afterthought. When replacing bottom seals, choose profiles that suit your floor’s condition—U-shaped inserts for uniform slabs, more forgiving bulb or T-style seals where there is slight unevenness. If water tracks under the door, consider threshold seals adhered to the floor that create a raised barrier complementing the door’s own seal.
Inspect the interface between track brackets and the wall: if fasteners are driven into compromised framing or masonry, moisture intrusion can slowly loosen the anchor points. Sealing around fasteners with appropriate exterior-grade sealant and using corrosion-resistant hardware elevates durability and preserves alignment.
Inside the garage, ensure that any dehumidification or ventilation strategy is compatible with storage habits—especially if you keep vehicles, tools, or premium materials there. Addressing surface rust promptly, rather than waiting for “real” damage, is a hallmark of a carefully managed space. In a premium repair philosophy, defending against moisture is as non-negotiable as replacing a broken spring.
Insight 5: Document Your Garage Like a Well-Kept Mechanical Portfolio
The most impressive garages often share one discreet trait: an owner who keeps a precise record of every intervention. Documentation transforms repair from a series of disconnected episodes into an ongoing, strategic narrative.
Start by creating a simple maintenance and repair log dedicated to the garage. Record the installation date of the door and opener, model numbers, spring type and size, roller type, and any modifications. When a repair occurs, note the date, the exact parts replaced, brand and specifications, and the rationale for the choice. Take clear photos of the door’s interior mechanism, the label with serial and model numbers, and any changes in hardware.
This archive pays off in several ways:
- Future diagnosis becomes faster and more accurate. You or a technician can immediately see what is original and what has been upgraded.
- Component life can be managed proactively. If you know when springs, rollers, or cables were installed, you can time replacements before inconvenient failures.
- Resale value is quietly elevated. Providing a buyer with a clear record of professional-grade care for the garage door and opener signals an overall standard of maintenance for the entire home.
Documenting may feel excessively meticulous at first, but over time it becomes a subtle, powerful tool—one that aligns perfectly with a premium approach to every other aspect of your property.
Conclusion
A garage that operates with understated confidence is never an accident. It is the product of deliberate choices: diagnosing beyond the obvious, treating the door as a balanced system, elevating contact points before electronics, calibrating with restraint, defending against moisture, and maintaining a precise record of every refinement. These exclusive insights move repair work out of the realm of emergency fixes and into something more considered—a quiet art of precision that respects both the engineering of the door and the standards of the home it serves.
Sources
- [U.S. Consumer Product Safety Commission – Garage Door Safety](https://www.cpsc.gov/s3fs-public/garage.pdf) - Provides safety considerations and best practices for operating and maintaining residential garage doors
- [International Door Association (IDA) – Homeowner Garage Door Safety](https://www.doors.org/consumers/garage-door-safety) - Offers guidance on safe operation, inspection, and when to call a professional for garage door repairs
- [Clopay Garage Doors – Maintenance & Troubleshooting Guide](https://www.clopaydoor.com/garage-door-support/maintenance) - Manufacturer recommendations on balancing, lubrication, and component inspection
- [LiftMaster – Garage Door Opener Owner’s Resources](https://support.chamberlain.com/s/article/Where-can-I-find-manuals-parts-lists-and-diagrams) - Official technical documentation for calibrating force, travel limits, and safety features on modern openers
- [University of Minnesota Extension – Managing Moisture and Condensation in Homes](https://extension.umn.edu/ventilation-and-moisture/controlling-moisture-your-home) - Explains how moisture affects building components, relevant to preventing corrosion and misalignment in garages
Key Takeaway
The most important thing to remember from this article is that this information can change how you think about Repair Solutions.